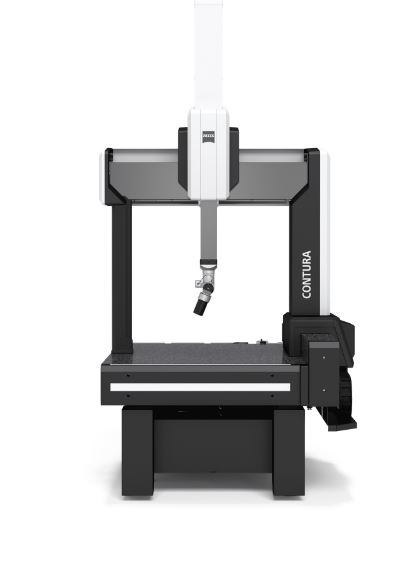
CONTURA

Prepared for all challenges – today and tomorrow

ZEISS CONTURA enables you to be prepared today for the measurement requirements of tomorrow: The new generation is equipped with the mass technology and, thanks to a common interface, enables simple switching between different sensor technologies in just a few simple steps. In addition to innovative options such as measuring in four axes using a flexible rotary table, an automated probe changing system or the HTG option (for larger temperature ranges), the device also stands for first-class performance, ergonomics and future security.

ZEISS CONTURA enables you to be prepared today for the measurement requirements of tomorrow: The new generation is equipped with the mass technology and, thanks to a common interface, enables simple switching between different sensor technologies in just a few simple steps. In addition to innovative options such as measuring in four axes using a flexible rotary table, an automated probe changing system or the HTG option (for larger temperature ranges), the device also stands for first-class performance, ergonomics and future security.

Overview

Versatility with mass technology

ZEISS CONTURA comprises an extensive range of sensors and thus offers the right sensor or sensor system for every application and every requirement. With the mass technology, a large number of ZEISS sensors can be operated with high precision and quickly replaced on the same measuring instrument: Sensors with an articulating probe holder or fixed probe configuration, optical or tactile, passive or active – this is how ZEISS CONTURA achieves maximum flexibility.

Optical sensors

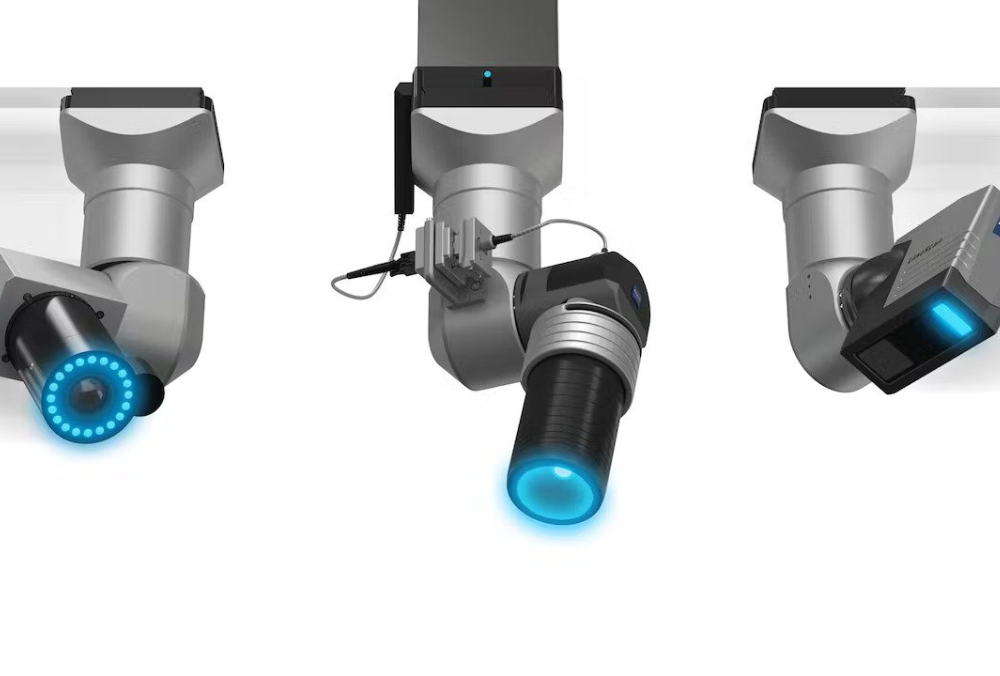
ZEISS CONTURA combines the performance of tactile and optical measurement tasks on a single device: from 2D image sensors to chromatic white light sensors to triangulation lasers. With ZEISS CONTURA, the world of optical sensors opens up anew.

Performance

ZEISS CONTURA makes it possible to reduce the measuring time to a minimum while maintaining reliable accuracy. This is guaranteed by functions such as ZEISS VAST navigator or ZEISS VAST performance in conjunction with ZEISS VAST measuring heads.

Ergonomy

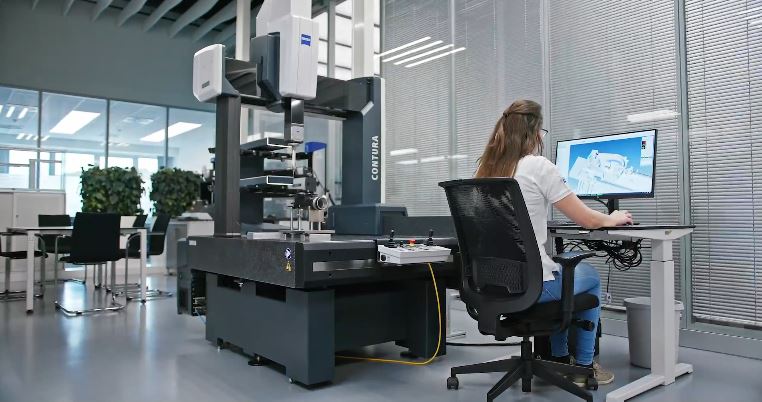
Small measuring rooms require a measuring device to adapt with the available space. The optimized height and width of the CMM, but also by well thought out special features with regard to ergonomics, it is possible to work comfortably for the user.

Future-proof

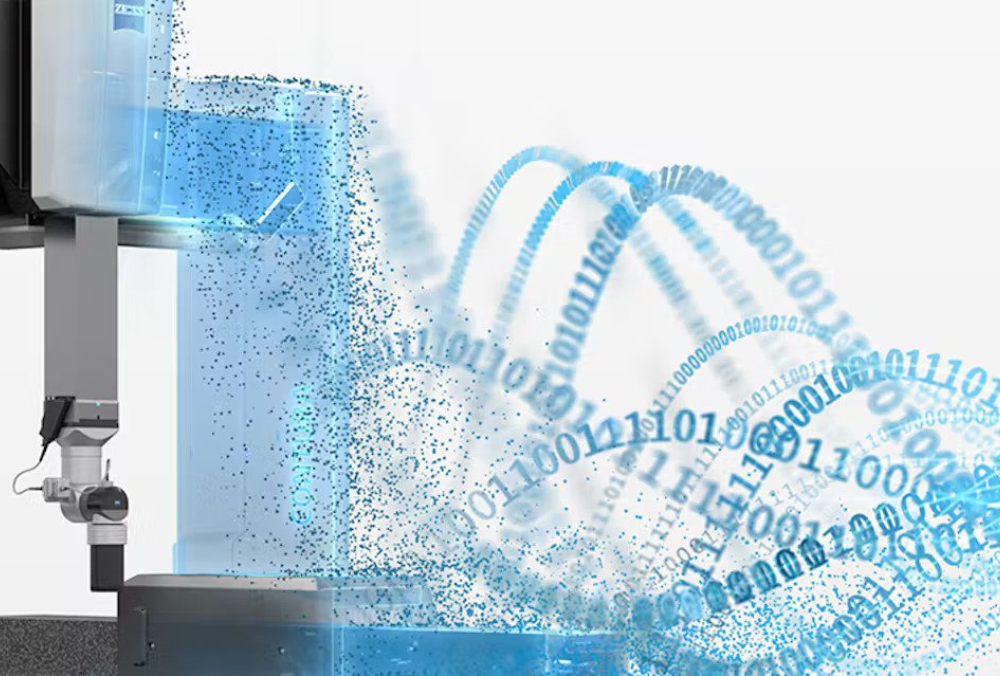
ZEISS CONTURA is also ready for Industry 4.0. The ZEISS Smart Services range of digital services allows the performance of the device to be monitored while on the move in real time.

Sizes

As measuring challenges change, so can the demands on application sizes. In order to meet these changing requirements for larger workpieces, ZEISS CONTURA will now be available in the sizes 12/18/10 and 12/24/10.

Options

HTG (High Temperature Gradient)

With the HTG option (High Temperature Gradient) even larger temperature ranges are no challenge for ZEISS CONTURA. Thanks to the floating glass ceramic scales, the new ZEISS CONTURA withstands thermal changes – temperature stability with constant measuring accuracy is thus guaranteed.

Rotary Table

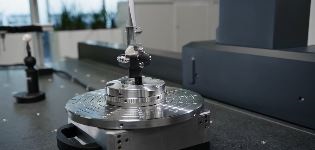
The new flexible rotary table can be installed in the measuring range as a surface-mounted variant when needed and can then be conveniently moved out of the measuring range again. This option enables measurements in four axes.

ProMax E

With the ProMax E option, ZEISS offers an automated probe changing magazine to guarantee the complete measuring volume during the changing process. It automatically moves into the measuring range and replaces the probe systems safely and accurately.

Further Options

Prepared for All Sensors

The new ZEISS CONTURA is equipped with the ZEISS Multi Application Sensor System (mass) technology, which makes it possible to exchange different sensor technologies quickly and easily.

ZEISS DotScan

More Light on the Subject
ZEISS DotScan is an outstanding option for capturing freeform surfaces and even for minute structures. By using the chromatic white light sensor, strongly reflective surfaces, such as metal components in knee implants, can be scanned without any need to inject them with a contrast medium. This also makes it possible to distinguish transparent lacquered surfaces from other underlying metallic layers.

Similar Products

Similar Products

Similar Products

Let’s find solution

to your TECHNICAL PROBLEMS.

Get In Touch